Here are two wonderful chocolate mousse recipes. The first, is made from all raw ingredients in order to preserve more nutrient value and the healthy food enzymes. The second recipe uses more common ingredients that you might find in your local grocery store so it may be easier to make. Either way, you will enjoy both of these recipes.
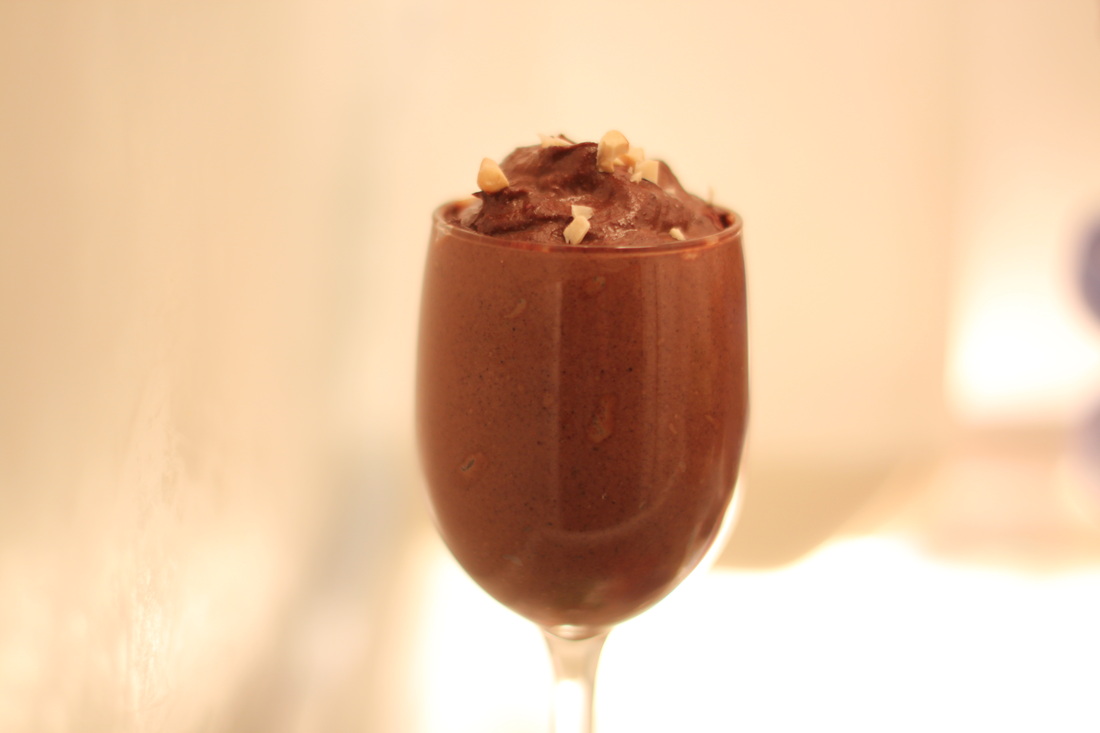
Chocolate Mousse (Raw)
1 avocado
1 banana, very ripe, frozen
6 T raw cocoa nibs
2 T raw honey
1 T virgin coconut oil
2 T cashew nuts
1/8 teaspoon vanilla bean
light srpinkle of Himalayan sea salt
1/2 teaspoon of cinnamon
1/3 cup milk of choice (coconut, almond, etc.)
Nuts for garnish
Place all the ingredients, except the milk, in the blender and blend until very creamy. If you are using a Vita-Mix, use the stopper to move the ingredients around so that they become well blended. The mousse may be stiff at the beggining until the banana and avocado get mixed in. Slowly add the coconut milk to desired consistency. Blend for several minutes to make sure the nibs have time to get smooth. Taste and adjust the sweetness by adding more honey if desired. The mousse will firm up in the refrigerator, but of course may be eaten right away as well. Makes 2 large servings or 4 regular sized servings.
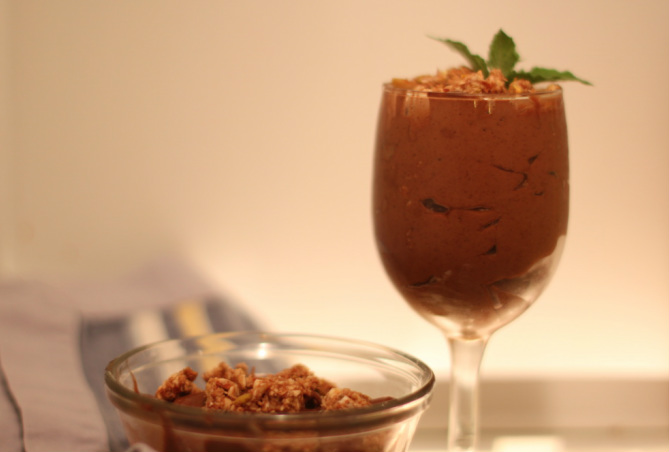
This Chocolate Mousse (Raw) has the advantage of fresh whole ingredients which makes for a healthy decadent dessert and is something special that you wont need to feel guilty by indulging. The mousse will not taste as sickly sweet as the store bought pudding, and it also will not leave you with the super sugar load that other desserts tend to do.
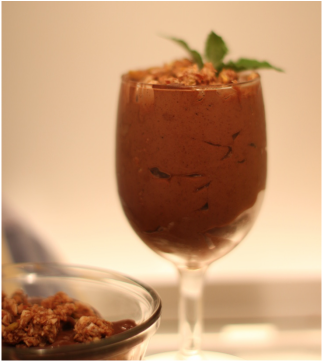
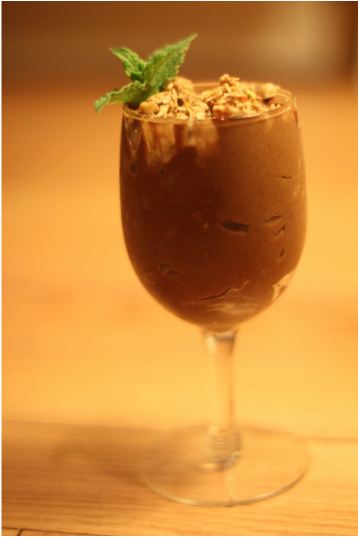
Chocolate Mousse II
1 banana, ripe and frozen
1 avocado
2 Tablespoons cocoa powder
1 Tablespoon honey
1/4 cup coconut milk (canned)
1/2 teaspoon cinnamon
1/2 teaspoon gf vanilla
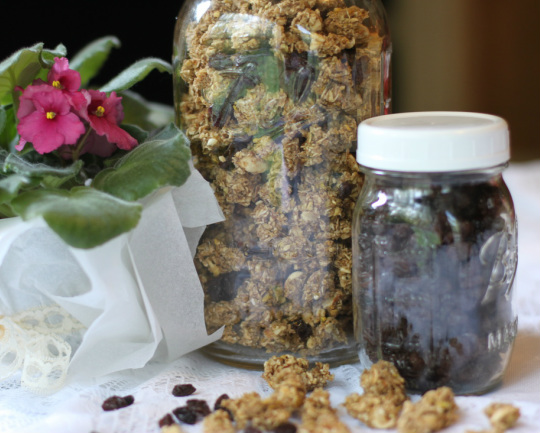
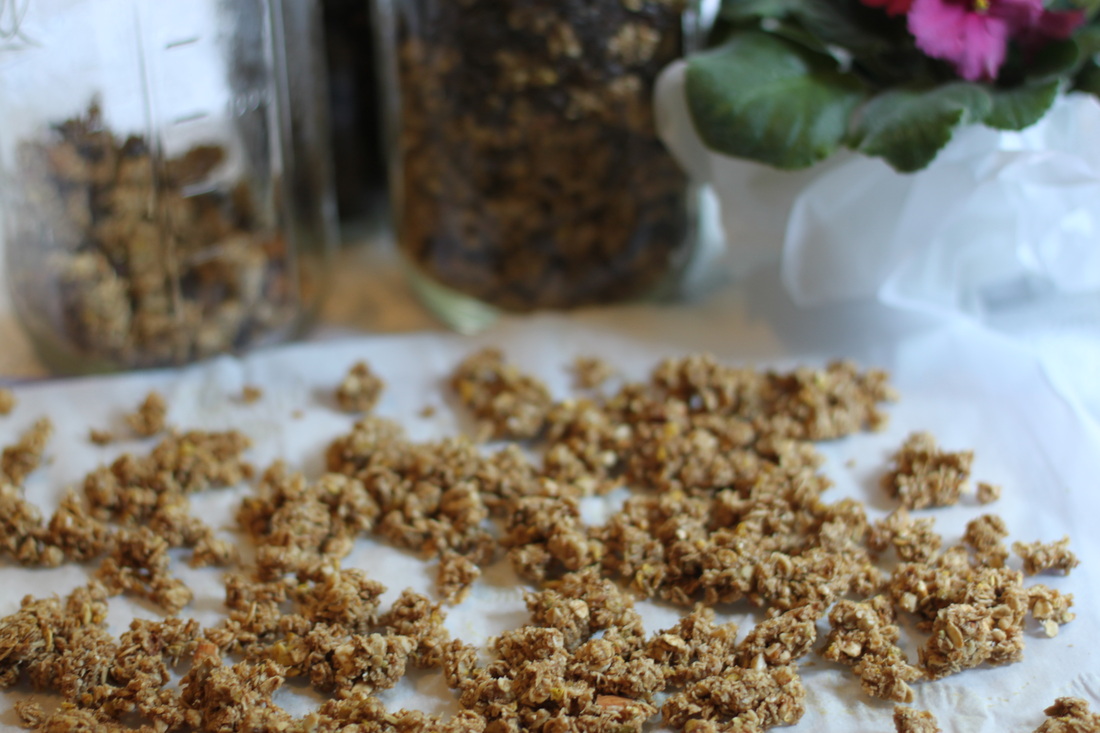
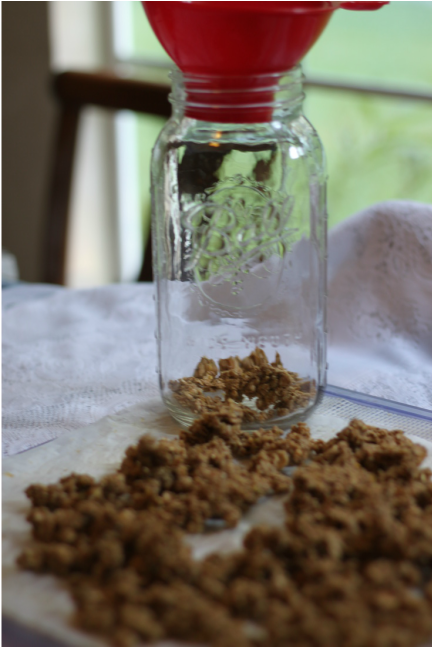
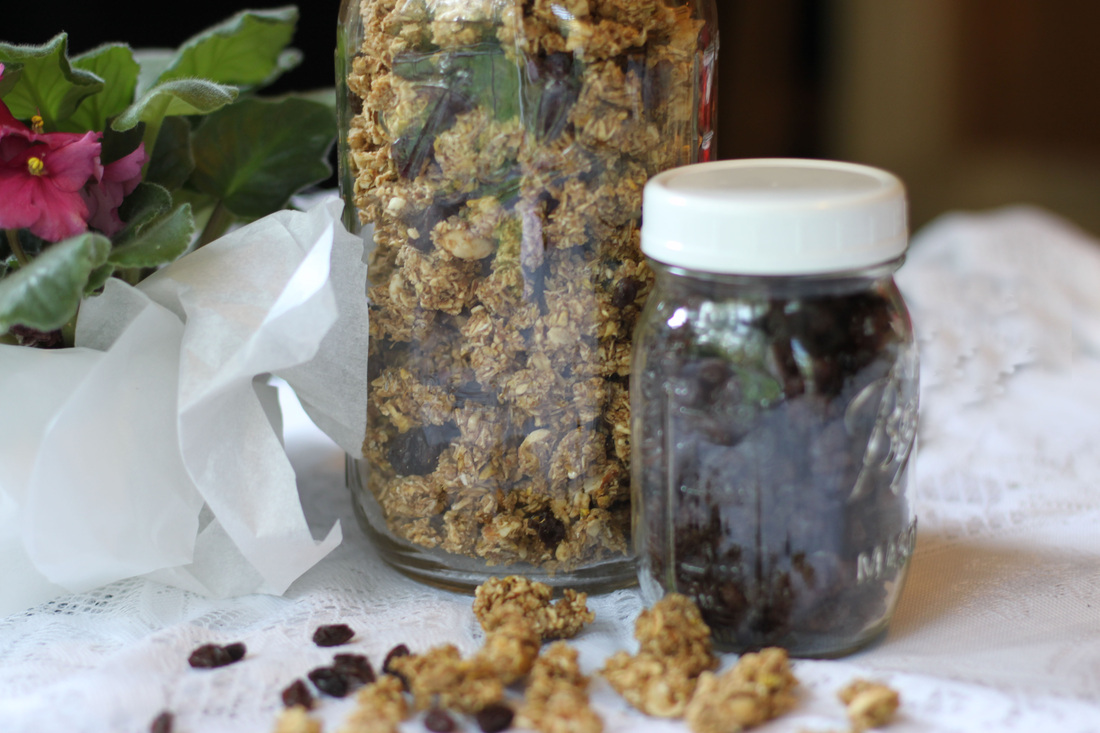
Granola for ganish
Place all the ingredients, except the milk, in the blender and blend until very creamy. If you are using a Vita-Mix, use the stopper to move the ingredients around so that they become well blended. The mousse may be stiff at the beggining until the banana and avocado get mixed in. Slowly add the canned coconut milk (I use Aroy-D if I can find it locally) to desired consistency. Taste and adjust the sweetness by adding more honey if desired. The mousse will firm up in the refrigerator, but of course it may be eaten right away as well. Makes 2 large servings or 4 regular sized servings. Enjoy fully!
Note: I prefer using the canned coconut milk that does not have any other ingredients except coconut milk and water which is not always possible to find. Often, the canned milk will have a preservative in it which I try to avoid. The two brands that contain only coconut and water are Aroy-D ( Asian Grocery store) and Golden Star (from Wal-Mart).
1 banana, ripe and frozen
1 avocado
2 Tablespoons cocoa powder
1 Tablespoon honey
1/4 cup coconut milk (canned)
1/2 teaspoon cinnamon
1/2 teaspoon gf vanilla
Granola for ganish
Place all the ingredients, except the milk, in the blender and blend until very creamy. If you are using a Vita-Mix, use the stopper to move the ingredients around so that they become well blended. The mousse may be stiff at the beggining until the banana and avocado get mixed in. Slowly add the canned coconut milk (I use Aroy-D if I can find it locally) to desired consistency. Taste and adjust the sweetness by adding more honey if desired. The mousse will firm up in the refrigerator, but of course it may be eaten right away as well. Makes 2 large servings or 4 regular sized servings. Enjoy fully!
Note: I prefer using the canned coconut milk that does not have any other ingredients except coconut milk and water which is not always possible to find. Often, the canned milk will have a preservative in it which I try to avoid. The two brands that contain only coconut and water are Aroy-D ( Asian Grocery store) and Golden Star (from Wal-Mart).
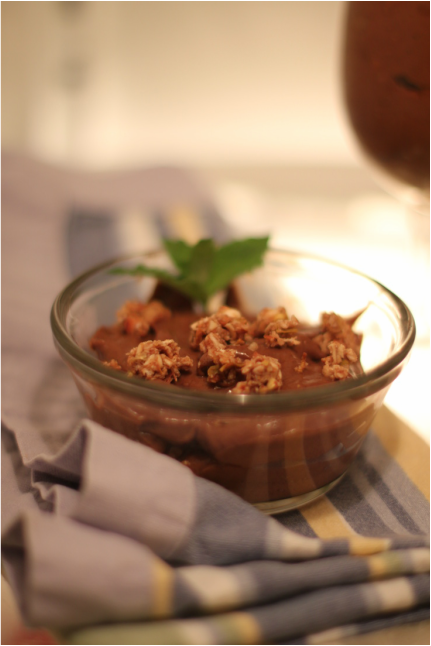
Chocolate Mousse with Granola Garnish


 RSS Feed