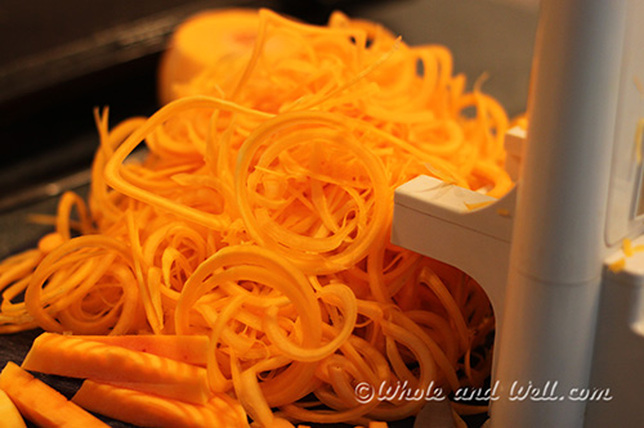
Sweet potatoes can be made into fries and are wonderful, but when I experimented with these Sweet Potato Crinkles, they were exceptionally wonderful. 1 medium sweet potato (get one that is as straight as possible) coconut oil skillet or grill sea salt spirooli Make the spirooli noodles. Heat iron skillet with enough coconut oil to generously coat the bottom. Place sweet potato crinkles in one single layer and turn heat to very low. You may need to cut the long strands so they lay flat. Let the potatoes brown which will take from 6-10 minutes depending on the heat and the skillet. Turn the sweet potatoes and cook another 10 minutes. Sometimes I may turn a few more times to make sure they are very crisp. Salt and serve immediately.
Note: Spirooli can be bought on Amazon. It is a wonderful tool to make noodles and chips out of vegetables such as zucchini, cucumbers, beets, sweet potato and butternut squash! The Spirooli comes with three sets of blades which make the different sizes of noodle. It works by placing the sweet potato or other food between the prongs on the turn wheel and the plade and turning the wheel to make the noo - Includes 3 sets of blades: 1/8-inch spacing, 1/4-inch spacing, and straight blade for ribbon cuts
- Simply place vegetable or fruit on prongs, turn wheel while pushing base toward blade
- Made of durable plastic, Dishwasher safe
Sweet potatoes are wonderful and most people love them.
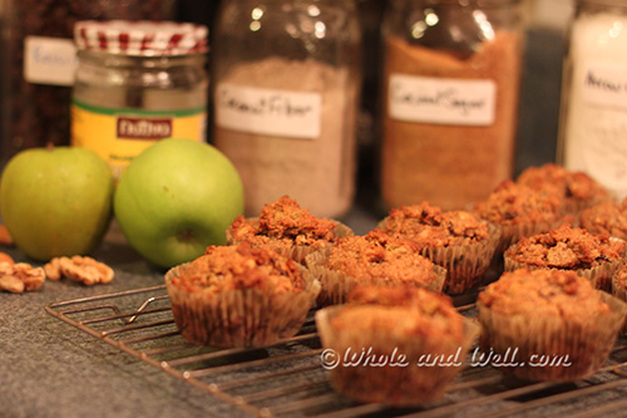 I love to bake goodies with cinnamon and raisins.! Since our family has many food allergies and intolerances, and at times I have had four different conflicting diets to deal with, baking has been a challenge. These Apple Muffins are ideal and right now everyone in my home can eat them. Thanks to my fabulous Daughter-in-law, Heather for the wonderful inspiration. See here for photos and her recipe. Unbelievably, I found coconut sugar, the last time I shopped at Super Wal-Mart and I am using the coconut sugar for the first time in this recipe. I found that coconut sugar is made from the sap of the flower of the coconut palm. So it is a completely natural sugar and the refining process is simple with no chemicals or high heat. Surprisingly enough, coconut sugar contains all 16 essential amino acids and many minerals and vitamins. It is considered low on the glycemic scale unlike honey, maple sugar, date sugar and molasses that are high on the glycemic scale. If you haven't started using coconut sugar, I think you will enjoy using it. The coconut fiber, is leftover from making my own coconut milk from fresh coconuts. I dried the leftover pulp and then ground it up in the Vita-Mix to a fine fluffy powder.
Here is my version of the muffins that are chock full of apples, nuts and raisins!
Apple Cinnamon Nut and Raisin Muffins
2 1/2 cups unbleached almond flour
1/2 teaspoon Himalayan pink salt
1 teaspoon baking soda
1/3 cup arrowroot powder
2 tablespoons coconut fiber (optional)
1 1/2 teaspoon ground cinnamon
3 tablespoons coconut sugar
1/3 cup coconut oil
1 large ripe mashed banana
2 tablespoons water
1 tablespoons vanilla
2 medium apples, cored and diced into fine pieces (Granny Smith works well)
3/4 cup walnuts, chopped
1 cup raisins
Preheat oven to 350°F. Prepare the apples by coring and removing any blemishes. Place the apples and the very ripe banana in the Vita Mix and chop on number 4 until thoroughly chopped. Alternately chop them in a food processor or by hand.
Mix all dry ingredients in a large mixing bowl. Add the water, oil and vanilla and mix until blended. Now working quickly and with a light hand in order to preserve as much of the bubbles of carbon dioxide gas as possible (as a result of the baking soda reaction with the water), add the chopped apples , bananas, walnuts and raisins and mix.
Place in the oven and bake for 30 minutes until brown and the center comes out clean when pricked with a toothpick.
Cool muffins on wire rack and enjoy!
Do you think the best thing to do when you go out into the sun is to lather sunscreen on your face, arms and legs.? Well, there is research to indicate that this may not be the best idea. Sunscreen is full of harmful chemicals and carcinogens among a few side effects. Since I live in Florida, we have to deal with the sun year round, Coconut oil is a good oil to put on your face instead of sunscreen. ( Just a little dab goes a long way) It will not completely block the sun's rays if you are out sun bathing, but there is some evidence that it may help. Chris Kresser a very succesful functional practioner, blogger and podcaster, from ChrisKresser.com is posting a series of articles called Tips for a Healthy Summer.  Here is an excerpt he wrote on sunscreen that has valuable information about their use and safety. Sun protection is tricky business. On one hand, you don’t want to block the rays that synthesize vitamin D, but on the other, getting a sunburn is not a great idea either. Ideally, you should be spending enough time in the sun to build some level of base tan, but not so much that your skin has a chance to burn. Smart sun exposure is the most natural way to prevent sunburn or skin damage, and moderation is the key to getting the benefits of sun exposure without overdoing it. Twenty minutes to an hour of sun per day should be plenty to make enough vitamin D, depending on how dark your skin is.
But what if you’ll be out in direct sun for several hours? Does this mean you should wear sunscreen? Sun protection is important if you plan to be out in the sun for a long enough time to get burned, but most sunscreens on the market are not beneficial or even safe. Stephan Guyenet explains on his blog how typical sunscreen fails to prevent melanoma, the deadliest form of skin cancer. Most commercial sunscreens have a slew of chemical ingredients such as fragrances, parabens, alcohols, chemical solvents and petroleum oils that break down when exposed to sunlight. (1)
Unfortunately, even natural sunscreen materials like zinc oxide could be problematic. (2) Researchers have recently discovered that, in vitro, zinc oxide may generate free radicals when exposed to UV radiation, which could damage cells and raise the risk of cancer. (3) More testing needs to be done, but this preliminary research shows that even natural sunscreen ingredients could have unforeseen consequences to your skin health. Until we know more, however, using a natural, mineral based sunscreen is still a better choice than the chemical sunscreens that are commonly available.
Mark Sisson has written a great guide on how to prevent sunburns using dietary strategies. He lists a variety of antioxidants and healthy fats that have been demonstrated to be anti-inflammatory and protective against cellular damage caused by UVA radiation. Additionally, there is some anecdotal evidence that coconut oil may have been used as a sunscreen by native Pacific Islanders. (4) While there are no studies testing the effectiveness of coconut oil as sun protection, it may be worth trying if you’re looking for a safe way to prevent sunburn. Ultimately, your best option is to stay in the shade or wear protective clothing once you’ve had adequate sun exposure, and skip the sunscreen altogether. Quoted From ChrisKresser.com
In summary, do your research before relying on sunscreen as a protector from the sun and do try to get some gradual sun exposure early or late in the day to get your necessary vitamin D.
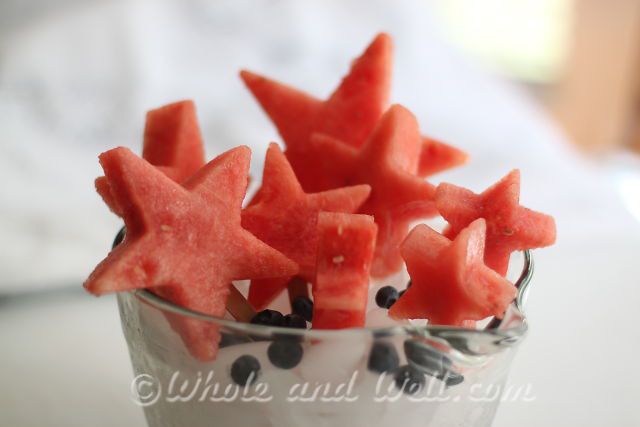
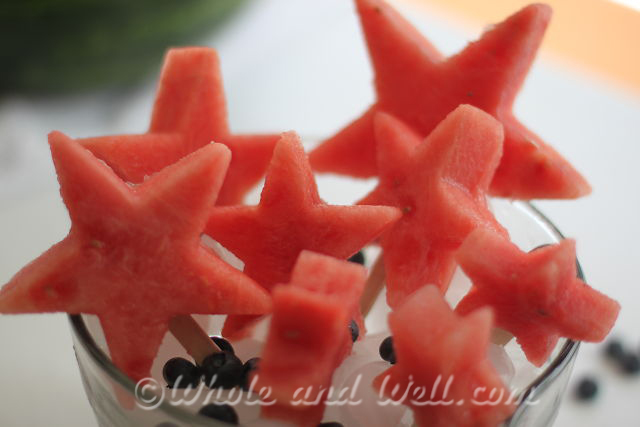
Watermelon is the perfect treat for summer's hot and sultry weather. These little delights are the perfect size to fit in small hands. Watermelon pops are a snap to make effortlessly and are a pleasant, cool treat for the kids that won't heat up the kitchen! For those of us with allergies, these pops, of course, have no dairy, gluten, soy, corn, nut, egg and yeast in them!
Equipment needed:
Star Cookie Cutters (or any other desired shape)
Popsicle sticks
Large Knife and cutting board
Watermelon
Bowl
Ice
Blueberries (optional)
Simply slice the watermelon in 1 inch slices and cut out the desired star shapes. Insert the popsicle sticks in the bottom of the star. When ready to serve, place the pops in a bowl of ice so the ice acts as a stand so that the pops don't fall over. Scatter blueberries on top and around the watermelon pops. Serve and enjoy.
Note: I was able to purchase the star cookie cutters at Super Wal-Mart in a set of four assorted sizes in the bakery section. The popsicle sticks can be found at Wal-Mart in the craft section.
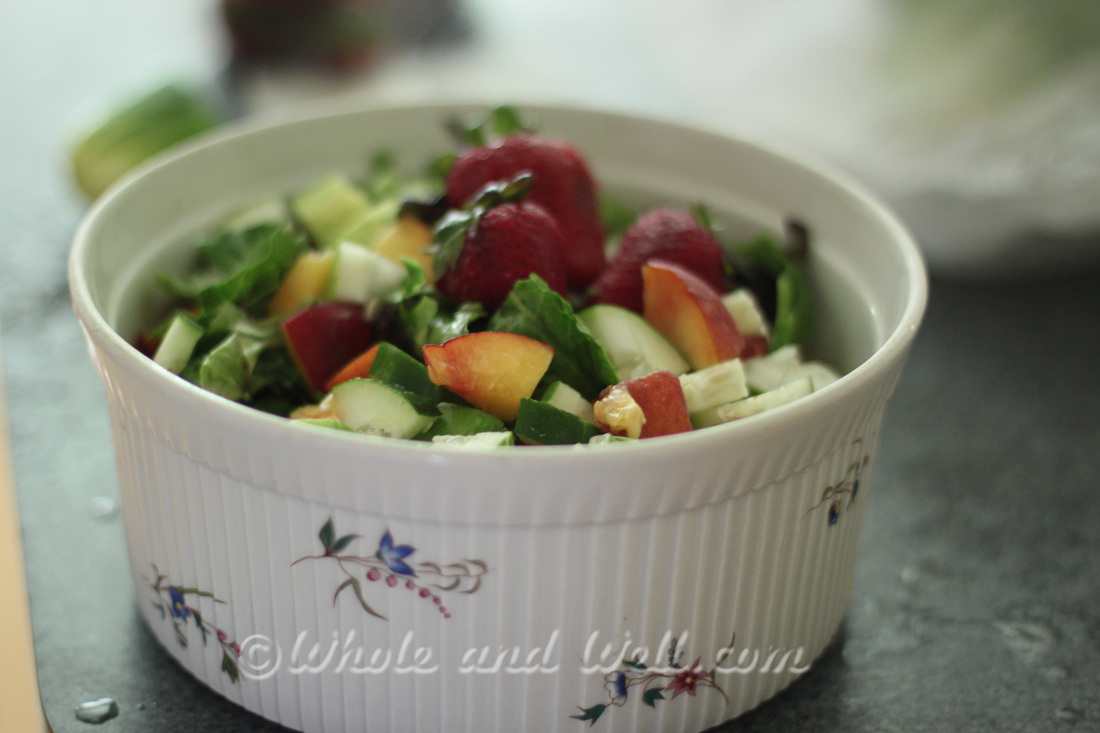
We had a friend over for dinner tonight and I used the opportunity to make Strawberry Peach Chicken Salad . It was a great success. The sweetness of the peaches and strawberries combined with the distinct savory taste of basil, all tied together with chicken and a homemade lemon poppyseed dressing made it an unusual but delicious offering. Try this for a quick dinner full of antioxidants and vitamins, especially A and K. You will love it! 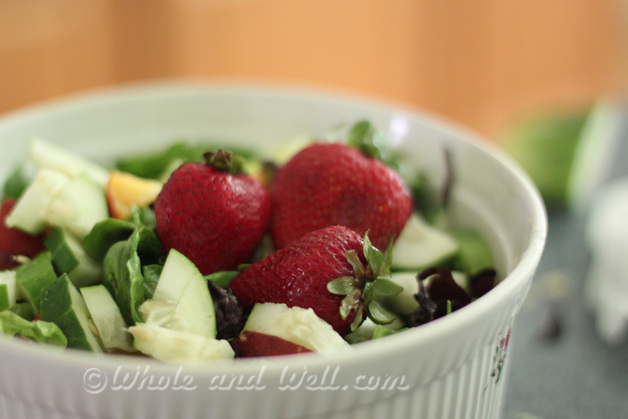 Strawberry Peach Chicken SaladSalad5 cups of spinach, chopped 1 heart of Romaine, chopped 1/2 cucumber, peeled and diced 2 peaches, cubed 1 cup strawberries, sliced 3/4 cup walnuts, lightly toasted (after being soaked and dried) 3 Tablespoons fresh basil chopped finely 3 cups leftover rotisserie chicken or 2 chicken breasts cooked, prepared to your liking. ( I like Mimi's Sticky Chicken) Wash and spin dry the spinach and lettuce. Chop and place in a large salad bowl. Slice the strawberries and peaces into bite sized pieces. Add the diced cucumbers and finely chopped basil. Toss the salad well to mix in the basil. Add the toasted chopped walnuts and chicken. Top with Lemon Poppy Dressing. Lemon Poppy Dressing2/3 cup extra virgin olive oil 1/3 cup lemon juice, freshly squeezed 1 spring onion 1 teaspoon Dijon mustard 3 Tablespoons date sugar or sugar of choice 1 1/2 teaspoons poppy seeds 1/2 teaspoon salt To make the salad dressing, pour all the ingredients except the poppy seeds in the blender and blend on high until creamy. Add the poppy seeds and blend until mixed well. Dress the salad lightly and serve the remaining dressing in a small pitcher on the side. Serves 4 I started out with this recipe from Southern Living and changed it to my liking.
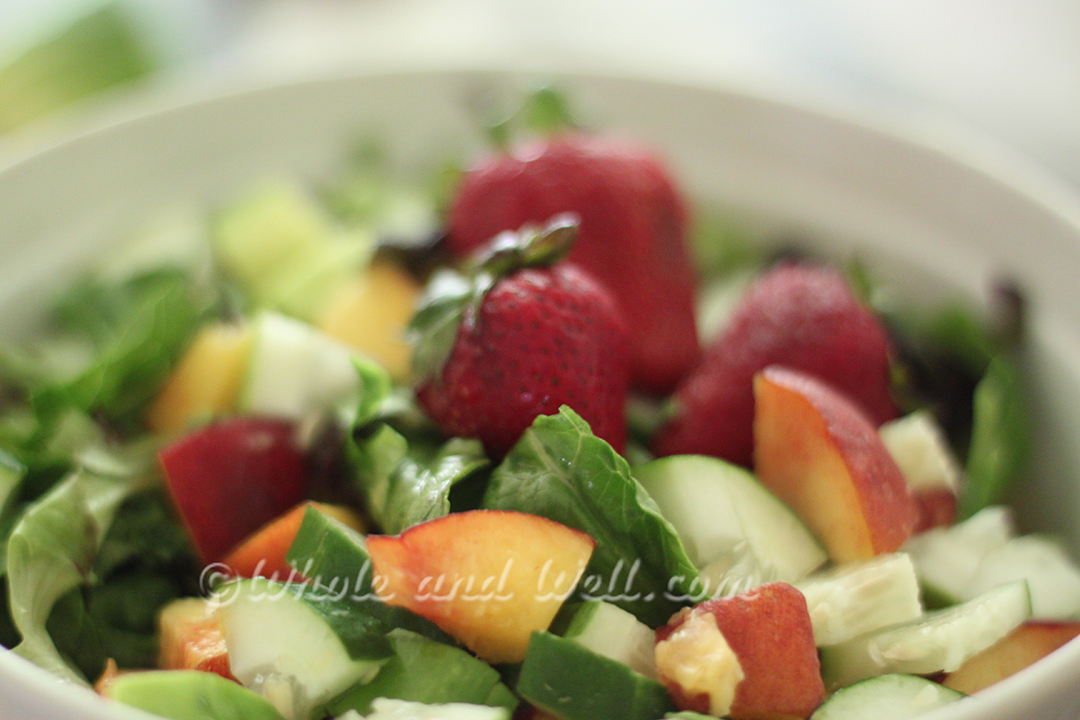 Strawberry Peach Chicken Salad
I was listening to a Focus Class tonight by Andrea Beaman. She was very inspiring, enthusiastic and very motivational. She closed her talk with the statement, " Just get in the kitchen! You are worth it." I thought I would pass the encouragement along.
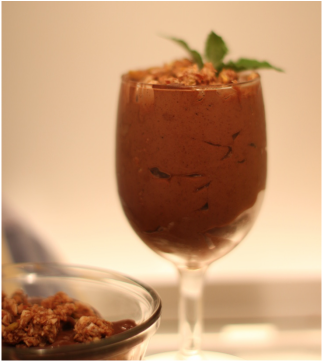
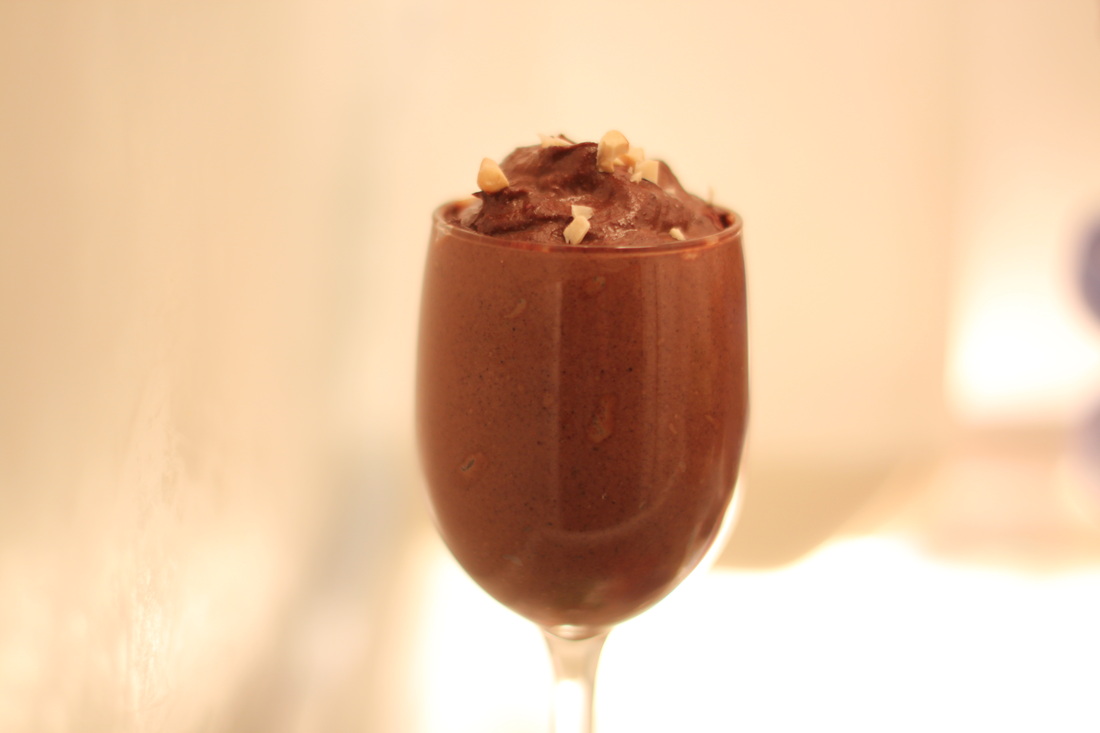
 Here are two wonderful chocolate mousse recipes. The first, is made from all raw ingredients in order to preserve more nutrient value and the healthy food enzymes. The second recipe uses more common ingredients that you might find in your local grocery store so it may be easier to make. Either way, you will enjoy both of these recipes.
Chocolate Mousse (Raw)
1 avocado
1 banana, very ripe, frozen
6 T raw cocoa nibs
2 T raw honey
1 T virgin coconut oil
2 T cashew nuts
1/8 teaspoon vanilla bean
light srpinkle of Himalayan sea salt
1/2 teaspoon of cinnamon
1/3 cup milk of choice (coconut, almond, etc.)
Nuts for garnish
Place all the ingredients, except the milk, in the blender and blend until very creamy. If you are using a Vita-Mix, use the stopper to move the ingredients around so that they become well blended. The mousse may be stiff at the beggining until the banana and avocado get mixed in. Slowly add the coconut milk to desired consistency. Blend for several minutes to make sure the nibs have time to get smooth. Taste and adjust the sweetness by adding more honey if desired. The mousse will firm up in the refrigerator, but of course may be eaten right away as well. Makes 2 large servings or 4 regular sized servings.
This Chocolate Mousse (Raw) has the advantage of fresh whole ingredients which makes for a healthy decadent dessert and is something special that you wont need to feel guilty by indulging. The mousse will not taste as sickly sweet as the store bought pudding, and it also will not leave you with the super sugar load that other desserts tend to do.
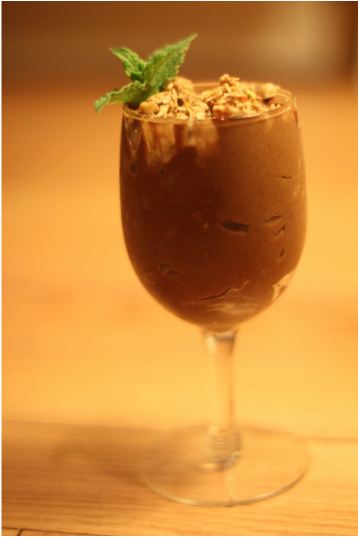
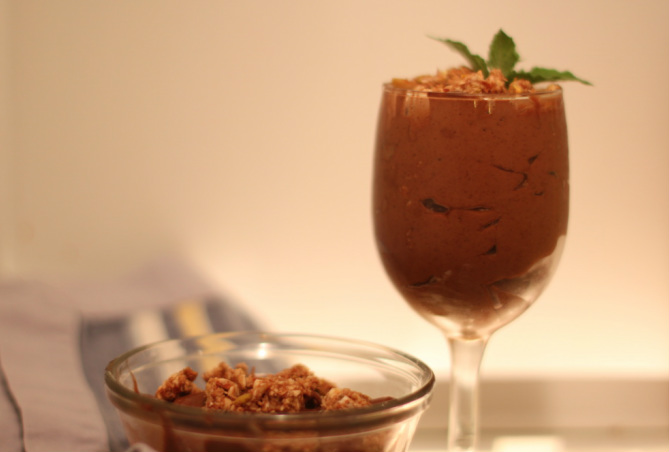
 Chocolate Mousse II1 banana, ripe and frozen 1 avocado 2 Tablespoons cocoa powder 1 Tablespoon honey 1/4 cup coconut milk (canned) 1/2 teaspoon cinnamon 1/2 teaspoon gf vanilla Granola for ganish Place all the ingredients, except the milk, in the blender and blend until very creamy. If you are using a Vita-Mix, use the stopper to move the ingredients around so that they become well blended. The mousse may be stiff at the beggining until the banana and avocado get mixed in. Slowly add the canned coconut milk (I use Aroy-D if I can find it locally) to desired consistency. Taste and adjust the sweetness by adding more honey if desired. The mousse will firm up in the refrigerator, but of course it may be eaten right away as well. Makes 2 large servings or 4 regular sized servings. Enjoy fully! Note: I prefer using the canned coconut milk that does not have any other ingredients except coconut milk and water which is not always possible to find. Often, the canned milk will have a preservative in it which I try to avoid. The two brands that contain only coconut and water are Aroy-D ( Asian Grocery store) and Golden Star (from Wal-Mart).
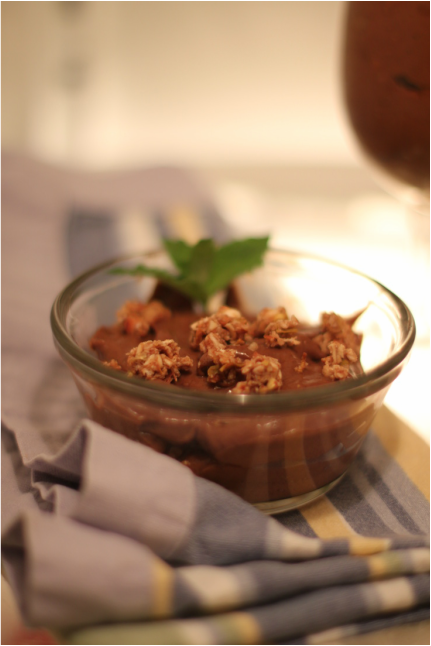 Chocolate Mousse with Granola Garnish
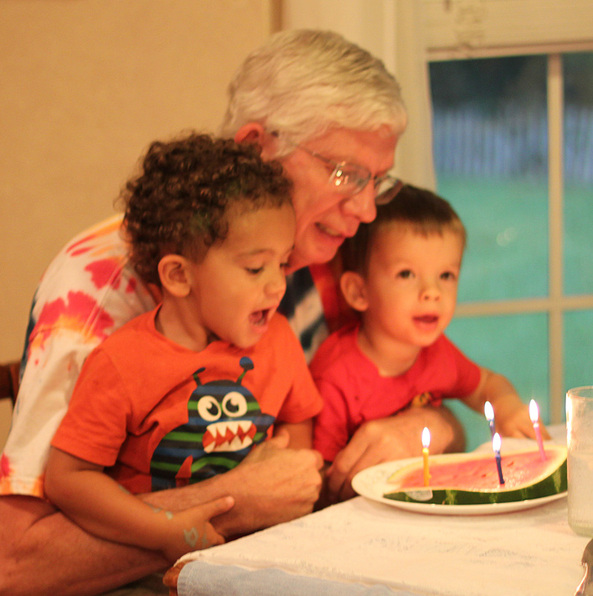
Happy Birthday to you, Happy Birthday to you, Happy Birthday dear Doug, Happy Birthday to you!
My husband, Doug, celebrated his birthday earlier this month. He usually enjoys brownies or carrot cake to celebrate his special day, but this year he decided to change it up a bit and asked for watermelon for his birthday! What!? No cake? We have done many creative things for birthday cake, but never just simple, delicious watermelon. Since this is a busy season for me and watermelon is something everyone in the family can enjoy together, I gladly went along with the idea. (I usually have to make 2 or 3 different desserts for birthdays to work around everyone's food allergies.)
So we had watermelon for our birthday cake! I just sliced a nice, juicy ripe watermelon (with seeds since it is usually sweeter), put candles on it and that was his cake. It is very simple, easy, economical, healthy, refreshing, and a brilliant idea! Leave me a comment and tell me if your family would appreciate a slice of watermelon or another kind of fresh fruit for their birthday instead of the traditional cake.
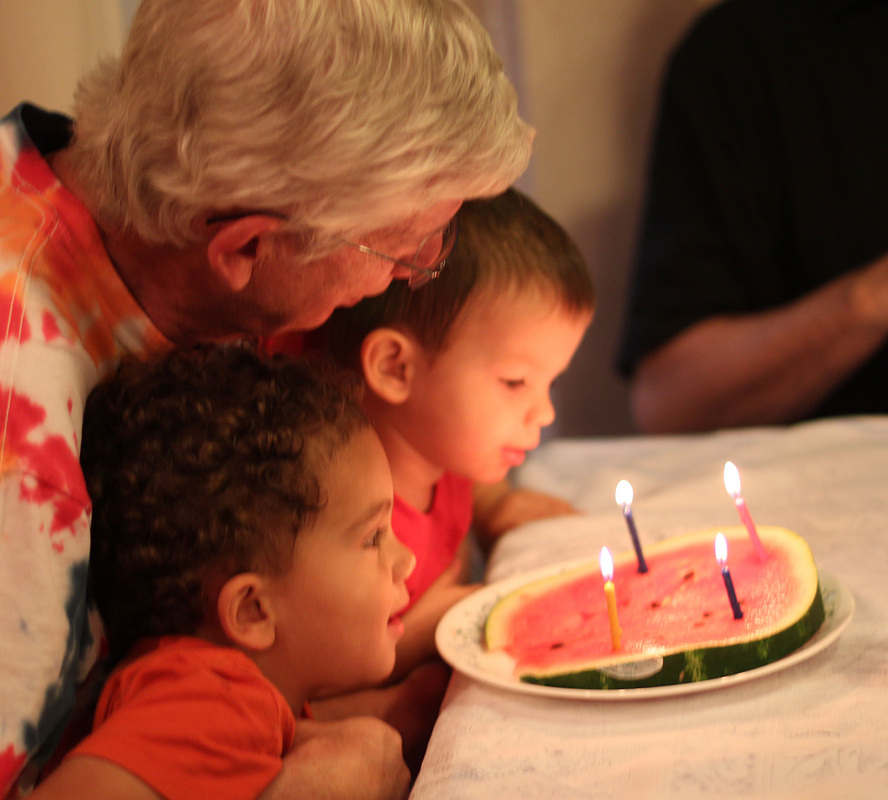
The candles with the flickering flames were enthralling.
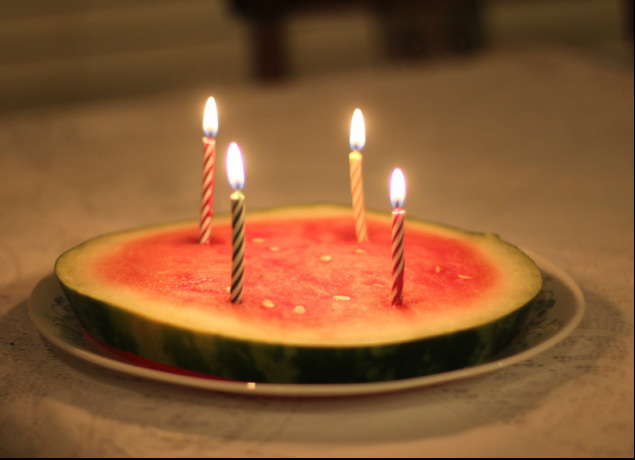
Watermelon Birthday Cake!
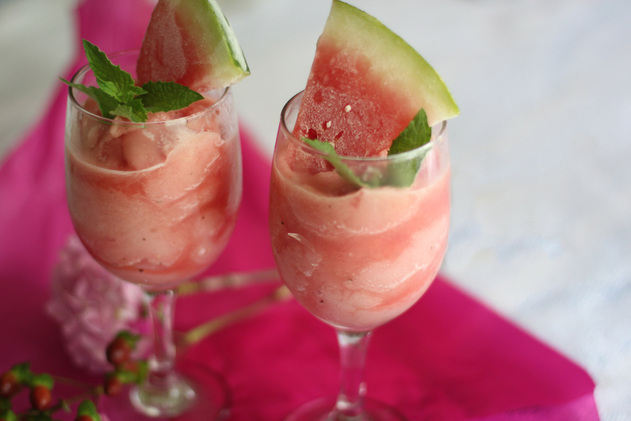 Sumner is here and so is the juicy and sweet watermelon. It is absolutley wonderful straight from the fruit stand, however, when you want a special treat, watermelon can be frozen and then whirled into a great low sugar, low fat, high nutrient summer treat. Watermelon has some surprising nutrients. It is high is Vitamin C, A, and B 6. It has more of the cancer fighting antioxidant lycopene than tomatoes, in fact more lycopene thatn any other fruit or vegetable. Watermelon is also a great source of potassium which helps in maintaining blood pressure. This frosty literally takes only a few minutes to make and is a guilt free dairy free, allergy free treat! Watermelon Frosty2 1/4 cups watermelon cubes, frozen 1/2+ cup water 2 Tbsp maple syrup 1 large lemon, squeezed (lime juice also works very well! use 2 limes) 1 banana, very ripe The night before, cube 2 1/2 cups of watermelon and lay the cubes on a cookie sheet and place the watermelon ladden cookie sheet in the freezer. Leave the watermelon cubes in the freezer overnight or until frozen. Place all the ingredients in a Vita-Mix or blender and whirl away for a few minutes. Pour into two glasses and garnish with a few slices of frozen watermelon. Serves 2. This is absolutely wonderful! Enjoy! Recipe source: Healthy Happy Bunch by Kathy from http://kblog.lunchboxbunch.com/2011/05/watermelon-frosty-or-margarita.html. You can go to the website and enjoy her How to Vdeo as well.
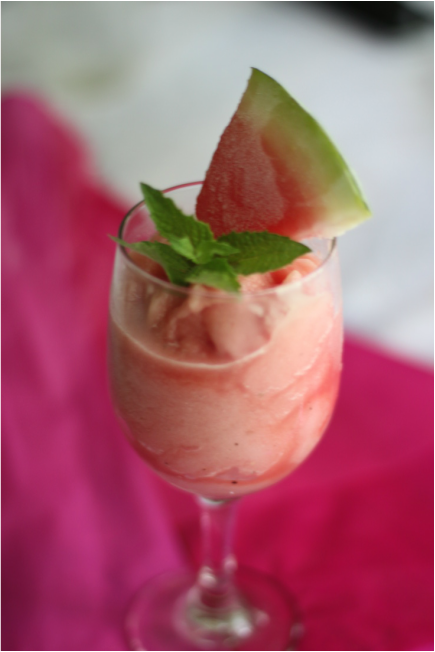 Watermelon Frosty
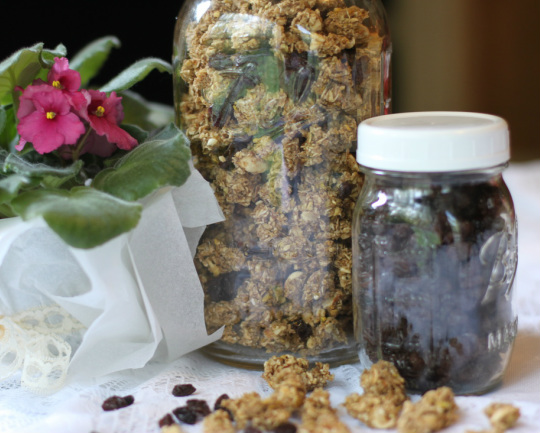
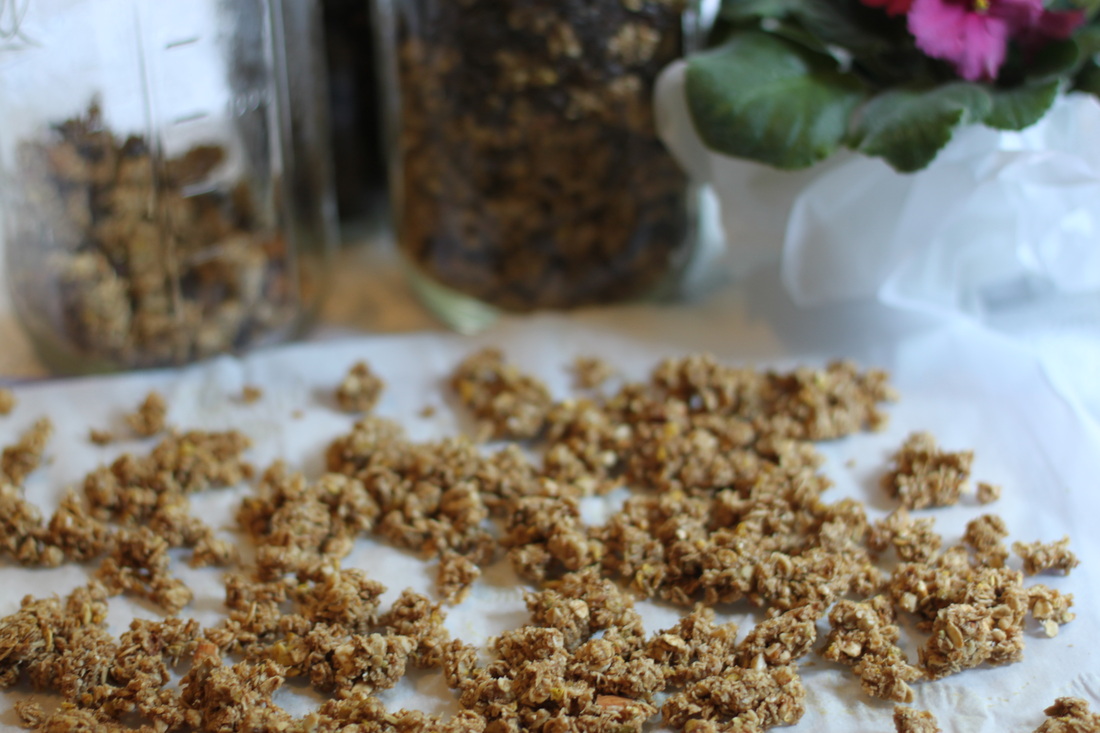
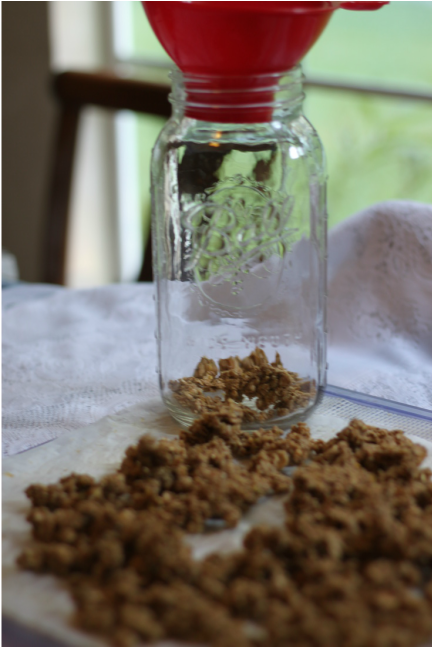
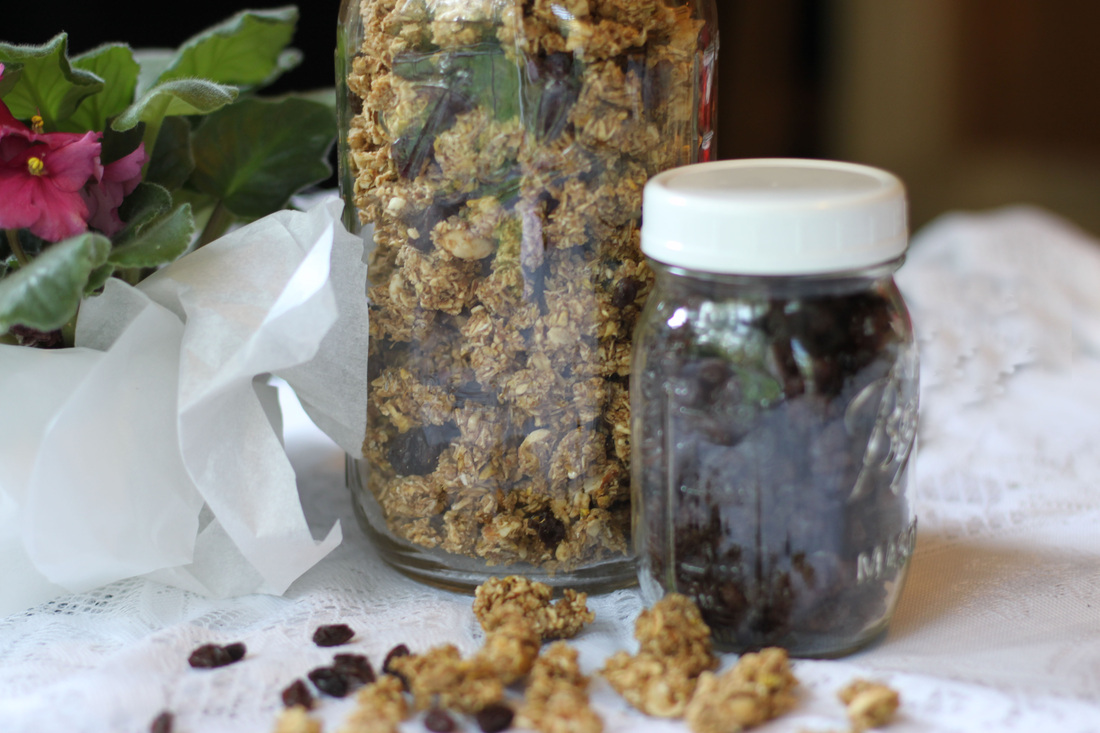
Granola is such a wonderful, nutritious and hearty breakfast food or snack with just a hint of sweetness, but commercial granolas are laden with high fructose corn syrup and other additives. It is so easy and more cost effective to make your own granola, and it only takes a little time to make your own healthy version! I’m sure if you give it a try, you will love it as much as we do. Granola can not only be enjoyed with the milk of your choice for a yummy and satisfying cereal breakfast, it is also great mixed in with yogurt and fruit, as a topping for ice cream or as an easy snack on the go. Granola is a good alternative for a quick and easy gluten free breakfast or snack. In the past, oats have been labeled as one of the grains to stay away from due to their gluten content. Oat grains do not themselves contain gluten, but because they are grown next to and in fields of wheat they are often cross-contaminated. Oat and wheat grains are similar in size and the same equipment is often used to produce both grains. Additionally, wheat and oat fields are often planted in the same area, allowing the seeds to become intermingled so that when the seeds are harvested and then replanted you will often find wheat growing in oat fields. Thankfully, there are now dedicated farmers who are willing to go to the extra effort to guarantee that the oats are pure and do not contain any contamination from wheat. The seed, the harvest and the oats are tested at each stage of production to ensure that there is no gluten in the oats. Bob's Red Mill carries Gluten Free Rolled Oats and Steel Cut Oats. You can buy one or both of these products locally at Whole Foods, Publix, and Wal-Mart, as well as on line at Amazon. Enjoy this delicious, frugal, and easy recipe! | | Nutty Granola with Raisins (mostly raw) 5 cups old fashioned rolled oats 1/2 cup sesame seeds, soaked and dried 1/2 cup sunflower seeds, soaked and dried 1/2 cup chopped almonds, soaked and dried 1/2 cup chopped walnuts, soaked and dried 1/4 cup chia seeds or flaxseed 1/2 cup shredded, unsweetened coconut 2 tsp. cinnamon 1/2 tsp salt 2/3 cup raw honey 2 tsp. vanilla 2 apples, finely chopped 1 cup raisins (or more to taste!) (reserve) Mix the oats, nuts, seeds, coconut and cinnamon and salt together in a large mixing bowl of a stand mixer. In a separate bowl, mix the liquid ingredients together thoroughly. Combine the liquid ingredients with the dry mixture, and blend until well integrated. Add the chopped apples and blend into the oat mixture. Spread the granola on several dehydrator trays (I used 4), and put in the dehydrator overnight or for 12 hours on 112 °F. When the granola is crispy, add the raisins evenly and store in a tightly covered glass jar. If you prefer, you can use your oven. Simply spread the granola on the bottom of the largest pan you have as evenly as possible. Bake at 325 °F for 45 minutes, or until lightly browned. Stir every 15 minutes so that it bakes evenly and does not burn. The granola will crisp up as it cools. Allow to cool before adding in the raisins. Special Notes: Any desired combination of nuts and seeds can be used. I like using my dehydrator so that the oven doesn't heat up the house (I live in Florida) and I don't have to watch the granola as carefully. Plus, the seeds and nuts are still raw, even though (technically) the oats are not. Note: To find out information on soaking and drying seeds see this article on The Benefits of Soaking Grains.
|


 RSS Feed